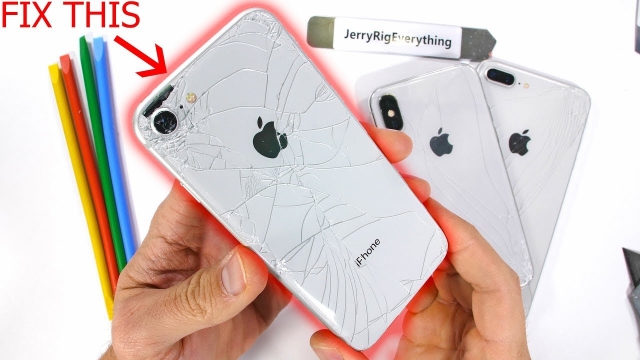
In today’s world, smartphones have become an essential part of our daily routine. They have made our lives easier and more convenient. However, with the increasing usage of smartphones, there is also an increase in their wear and tear. One of the most common issues that iPhone users face is a broken screen. A broken iPhone screen is not only annoying but can also be dangerous in case of glass shards. In this article, we will guide you on how to replace your iPhone screen like a pro.

Why Do iPhone Screens Break?
Before we dive into the process of replacing a broken iPhone screen, it is important to understand why iPhone screens break in the first place. The most common cause of a broken iPhone screen is a drop or impact. iPhones are designed to withstand a certain level of impact, but they are not indestructible. Other factors that can cause an iPhone screen to break include extreme temperatures, pressure, and wear and tear over time.
Tools You Will Need
Before you start the process of replacing your iPhone screen, you will need a few tools. These include:
- A replacement screen
- A Phillips screwdriver
- A pentalobe screwdriver
- A suction cup
- A spudger
- A tweezers
- A heat gun or hair dryer
- A microfiber cloth
Step-by-Step Guide to Replacing Your iPhone Screen
Now that you have all the necessary tools, let’s get started with the process of replacing your iPhone screen.
Step 1: Power Off Your iPhone
The first step is to power off your iPhone. This will prevent any damage to your phone or injury to yourself during the repair process.
Step 2: Remove the Two Pentalobe Screws
Use a pentalobe screwdriver to remove the two screws located at the bottom of your iPhone.
Step 3: Use a Suction Cup to Remove the Broken Screen
Place the suction cup on the broken screen and gently pull it away from the phone. Be careful not to apply too much pressure as this can damage the phone’s internal components.
Step 4: Use a Spudger to Disconnect the Cables
Once you have removed the broken screen, use a spudger to disconnect the cables that connect the screen to the phone’s logic board.
Step 5: Remove the Home Button
If your iPhone has a Touch ID sensor, you will need to remove the home button from the broken screen and transfer it to the replacement screen.
Step 6: Transfer the Components to the Replacement Screen
Transfer any components that are attached to the broken screen to the replacement screen, including the earpiece speaker, front camera, and LCD shield.
Step 7: Reconnect the Cables
Connect the cables that you disconnected in Step 4 to the replacement screen.
Step 8: Test the New Screen
Before you reassemble your iPhone, test the new screen to make sure it is functioning properly.
Step 9: Reassemble Your iPhone
Once you have tested the new screen, reassemble your iPhone by following the above steps in reverse order.
Conclusion
A broken iPhone screen can be frustrating, but with the right tools and knowledge, you can replace it like a pro. Follow the step-by-step guide provided in this article, and you will have your iPhone screen replaced in no time. Remember to always be careful during the repair process to avoid any further damage to your phone.